Which to use when you’re in pain?
Welcome to the latest edition of Healthy Living, where we bring you valuable insights and information on all things related to health and well-being. In this edition, we’re diving headfirst into a topic that has confounded many of us when it comes to treating injuries: the age-old debate of Ice vs Heat.
We’ve all been there – whether it’s a sprained ankle from an intense hike or a muscle strain from your last workout. The first question that often arises is, “Should I apply ice or heat?” It’s a question that has sparked numerous conversations, left many of us feeling uncertain, and even led to a few urban myths.
In this edition, we’re going to provide expert insights from physical therapists, and offer practical advice on when to reach for that ice pack and when to opt for a warm compress. From understanding the principles behind these two therapeutic methods to knowing when and how to use them effectively, we’ll empower you to make informed decisions about your injury treatment.
Here are some general guidelines to help in many scenarios. If you have certain conditions, such as fibromyalgia, Reflex Sympathetic Disorder (RSD), or rheumatoid arthritis, your sensory pathways are affected and don’t fall into the typical response patterns.
Generally, ice is for injuries and after activity. Heat is for loosening and relaxing tissues, used before activity.
What to know about ice:
Ice is typically used during the acute or initial phase of an injury, which is characterized by inflammation, swelling, and pain. It works by reducing blood flow to the injured area, which can help alleviate pain, reduce swelling, and prevent further tissue damage. Here’s how to use ice effectively:
- The first 24-48 hours after an acute injury onset, use ice. This is true even for simple muscle sprains or pulls.
- After an activity, at the end of the day or when swelling is present, use ice. When things are inflamed, the more you do throughout the day, the more inflamed the area will get. Ice will assist in decreasing pain, inflammation, and swelling.
- Ice can also be used for chronic conditions like overuse injuries to help control inflammation.
- In addition, whenever possible, elevate the injured area above heart level. This helps reduce swelling.
- Use a bandage or compression wrap to provide gentle pressure on the injured area to minimize swelling.
Ways to ice:
- Ice cubes in a plastic bag
- Wet, frozen towel
- Gel ice packs
- Ice water in a bucket
Things to know about icing:
- Don’t ice for more than 20 minutes.
- Let your tissues fully re-warm before re-icing.
- 20 minutes on, 40 minutes off is a good rule for icing multiple times.
- If you’re icing in an area with superficial nerves (elbow), don’t ice for more than 10 minutes.
- You never want to ice before performing an activity. You want your muscles warm, not cold!
- Ice can aggravate symptoms of tightness and stiffness.
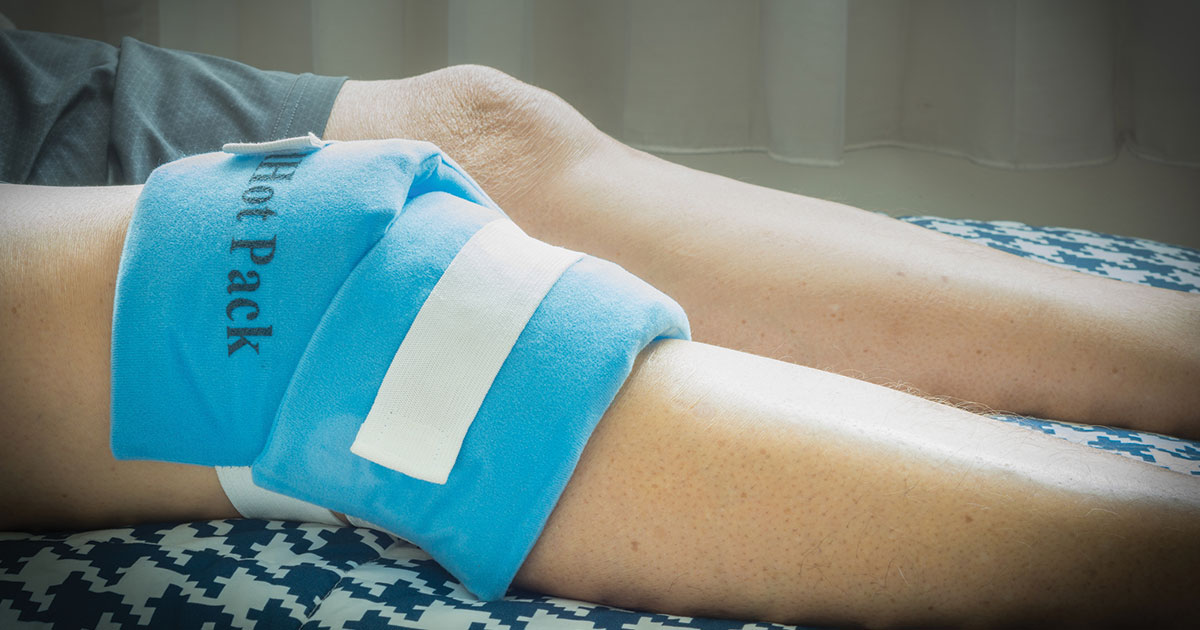
What to know about heat:
Heat is more appropriate for chronic injuries or when the acute phase has passed. It can help relax and loosen tissues and stimulate blood flow, which is beneficial for muscle stiffness or chronic pain. Here’s how to use heat effectively:
- Heat is typically used to help relax or loosen tissues.
- Heat will bring more blood flow to the area.
- Heat is usually used in conditions that are more chronic. This helps stimulate blood flow to the area.
- Heat, when needed, is used before activity assisting more blood flow to help loosen and relax the muscles.
Ways to heat: (Ensure that the heat source is not too hot to avoid burns or scalds)
- Heating Pad
- Hot, wet towel, or hot water bottle
Things to know about heating:
- Apply heat for 15-20 minutes, 3-4 times a day, as needed. Do not use heat continuously for long periods as it can cause burns.
- Don’t use heat when sleeping to avoid burns.
- Moist heat, like a warm shower or bath, can be especially soothing and effective for certain injuries.
- Heat can make inflammation significantly worse.
- If you have reduced sensation or circulation in the area, be cautious with heat, as you may not feel if the heat source is too hot.
If your pain doesn’t subside after a few days, don’t hesitate to reach out and ask for help. A doctor, physical therapist or certified athletic trainer can evaluate your injury or pain and get you back on your path to recovery.
Looking for an ice pack and can’t find one? No worries. Making your own ice pack at home is practical and easy.
Ingredients:
- 2 cups of water
- 1 cup of rubbing alcohol
- Gallon-sized Ziploc bag
Directions:
- Pour the water and rubbing alcohol into the bag. Double the bag for extra protection against leakage.
- Zip the bag shut removing as much air as possible.
- Place the bag in the freezer until the liquid reaches a slushy mixture.
- When ready, wrap the bag in a towel or pillowcase before applying it to the skin. (DON’T NOT APPLY THE BAG DIRECTLY TO THE SKIN.)
It’s important to consult a healthcare professional for advice on whether to use ice or heat for your specific injury. Sometimes a combination of both, known as contrast therapy, can be beneficial for certain conditions. Additionally, consider the RICE protocol (Rest, Ice, Compression, Elevation) in the initial stages of an injury, followed by heat therapy in the later stages if necessary. Always listen to your body and use these treatments as directed by a healthcare provider to ensure the best possible recovery.
©2023HealthSpot References: Blog: PTandMe.com, March 15, 2023